Quick Guide for Creating Character
The following material will cover the process of converting a static biped model into an animatable character.
- Prepare a biped model in FBX or OBJ format.
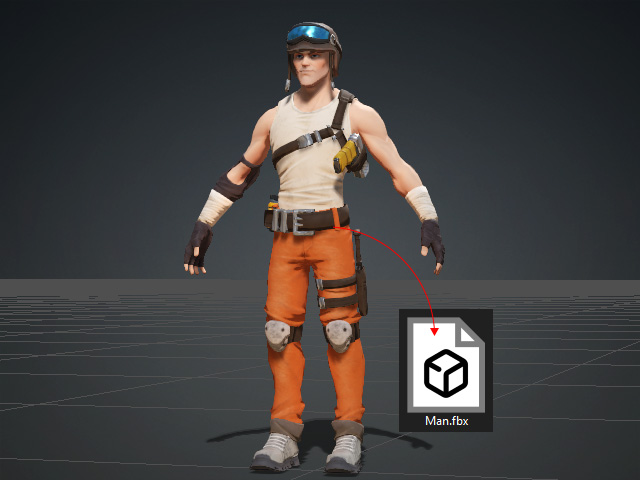
- Launch ActorCore AccuRIG. Load the model file to start the procedure.
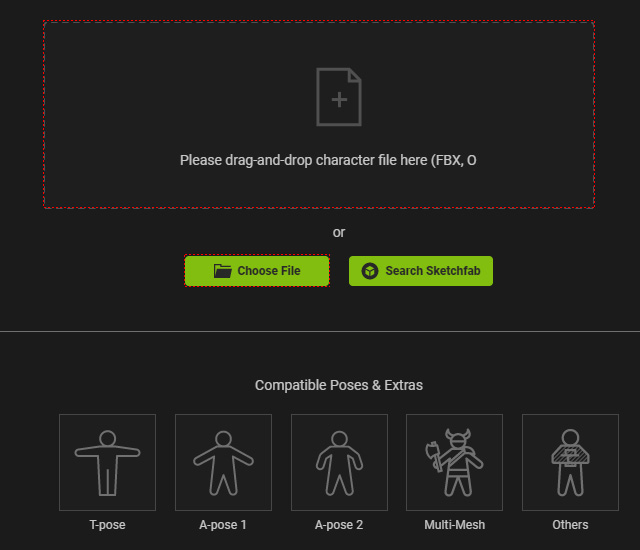
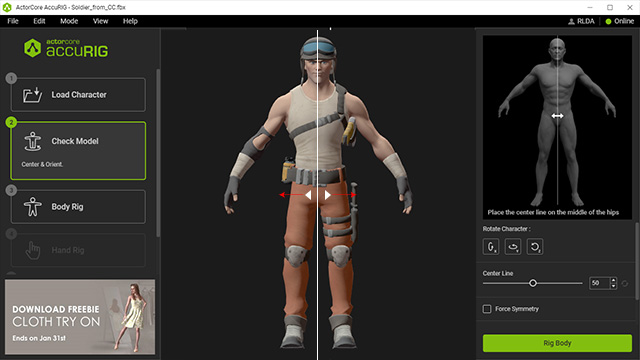
* You can drag and drop the file to the viewport, click the frame area or the Choose File button to load a model file. - Also, drag the center line (or the arrows) to align it to the center of the pelvis. Proceed to the 3rd step by clicking the Body Rig button near the bottom of the right panel.
- In step 3, AccuRIG will automatically distribute the skeletal joints.
Adjust them if necessary by dragging on the dot gizmos. When you are ready, click on Rig Right Hand to proceed to step 4.

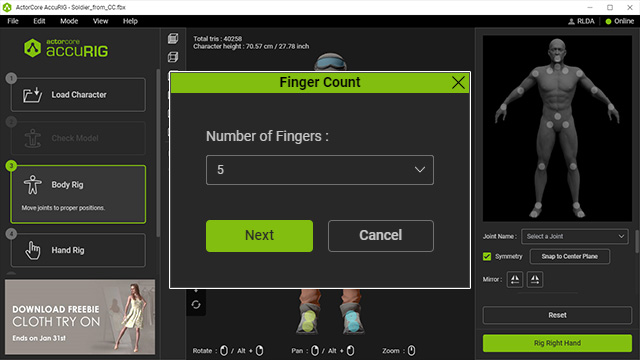
- Before proceeding to
step 4, you will be asked to input the number of
fingers for the character.
- Apply various poses or motions to ensure proper placement of the joints.
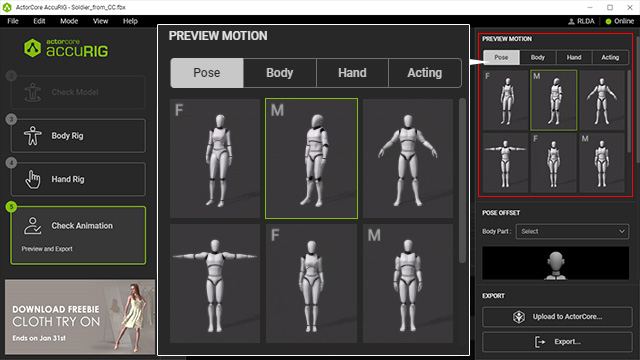
- In the final phase, it is crucial to offsetting the bones to address potential problems related to model clipping during posing or animation. This adjustment is particularly vital for unconventional or exaggerated figures, as they may be prone to instances where the arms intersect with the body.
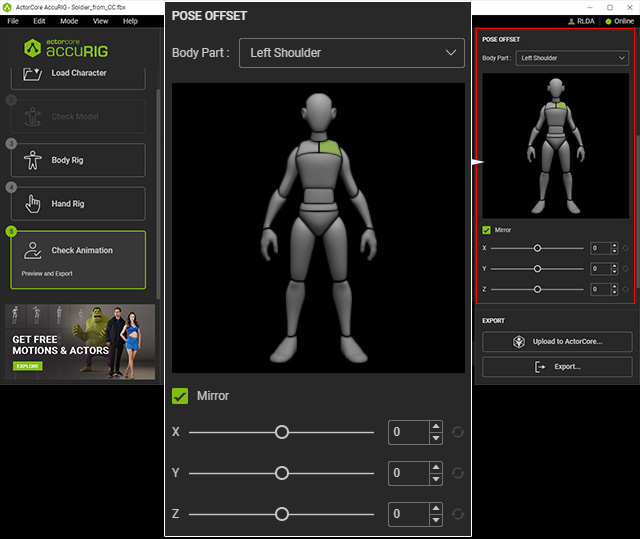
If issues still remain, go back to step 3: Body Rig for further join adjustments. - The buttons on the bottom-right corner of the program will help you decide on what to do with the finished character. If you wish to upload the character to the ActorCore site, proceed to click on Upload to ActorCore…. If you wish to export the character in FBX, USD, or iAvatar format for direct use, click the Export… button.

AccuRig supports models with texture maps in FBX and OBJ formats, provided that the associated files and texture maps are located within the model file’s folder.
The program automatically proceeds to the second step. Rectify the character to face front if necessary.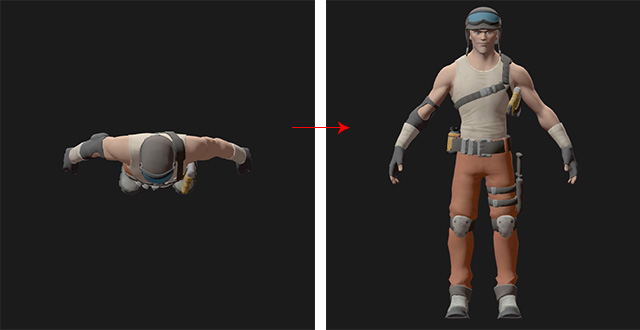
AccuRIG will automatically position the finger joints. You can manually reposition them if needed.
Click the Left Hand tab or Go to Left Hand button for the same adjustments to the other hand. Proceed to the final step by clicking the Check Animation button on the left side panel.
